
Last updated November 16, 2026
 Wrought iron
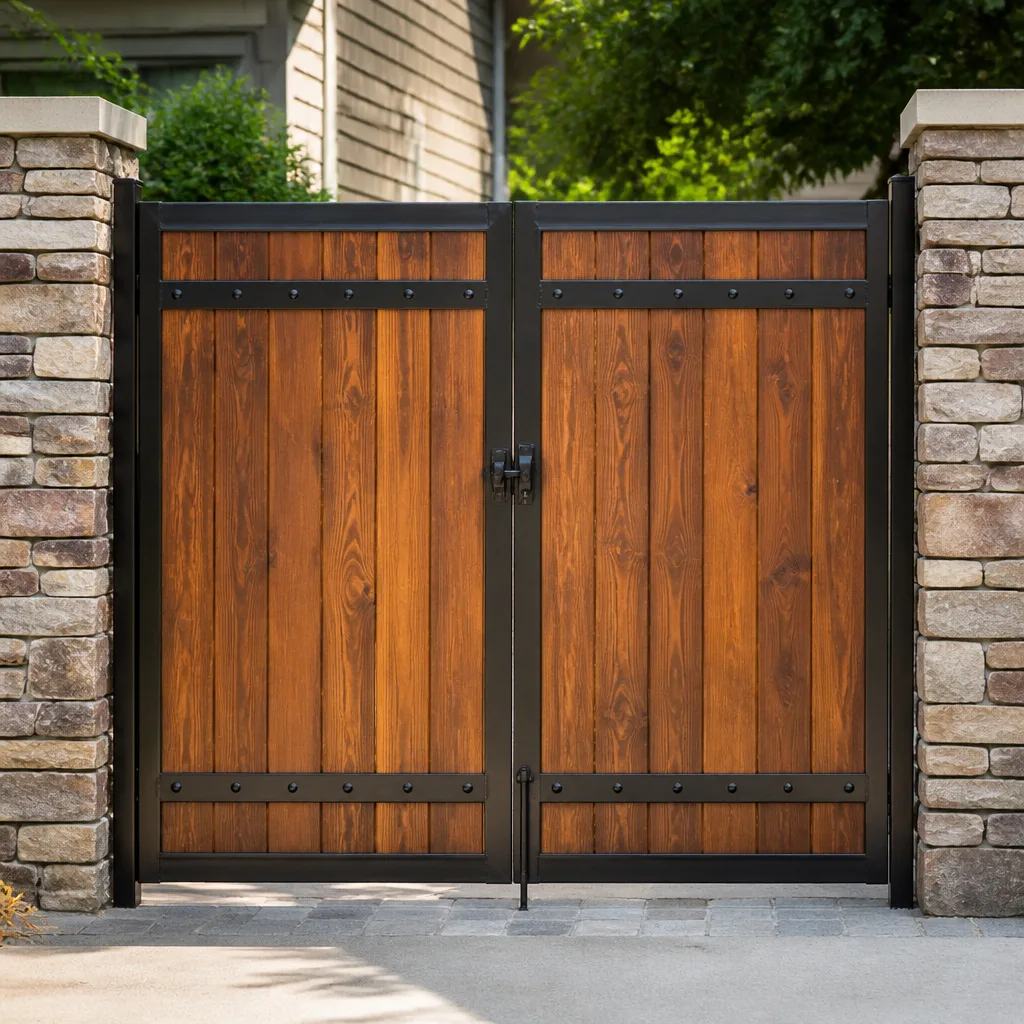 Wood & steel frame
 Farm & ranch
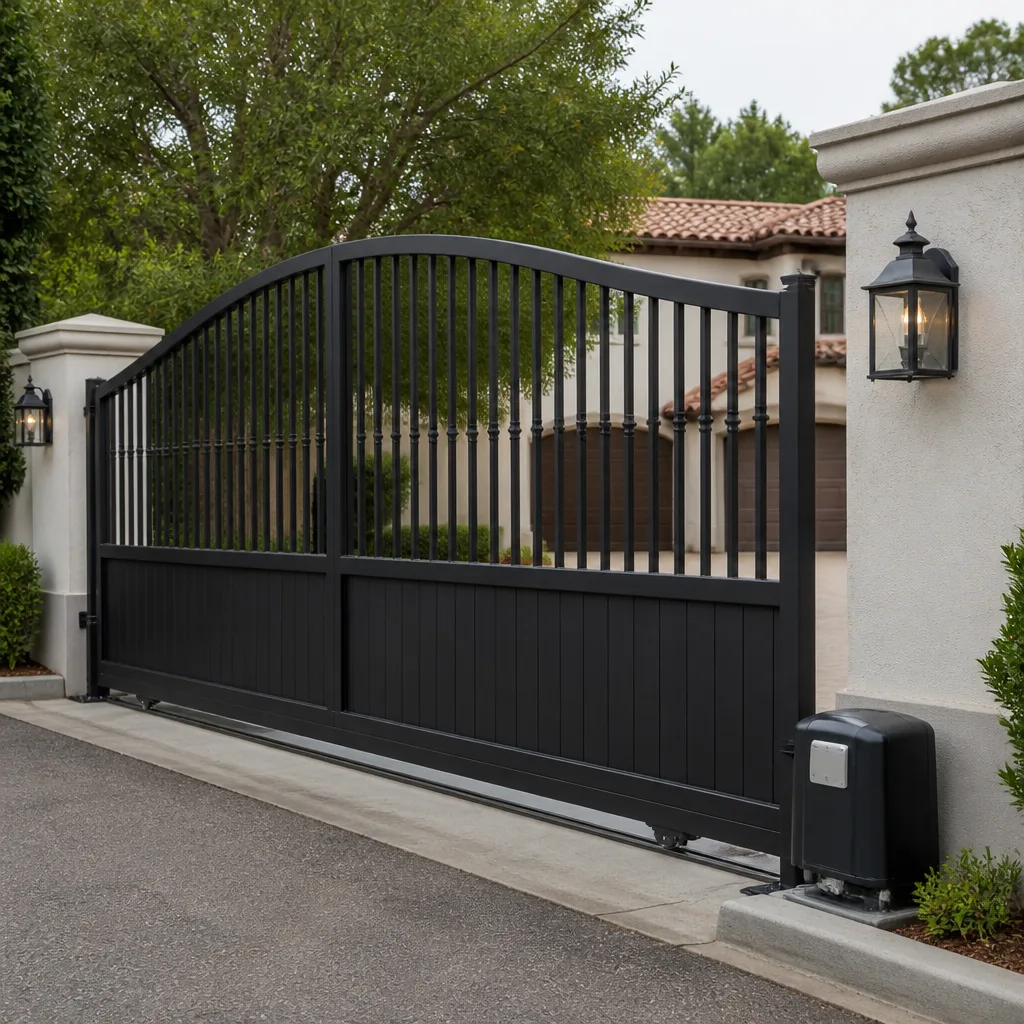 Sliding driveway gates
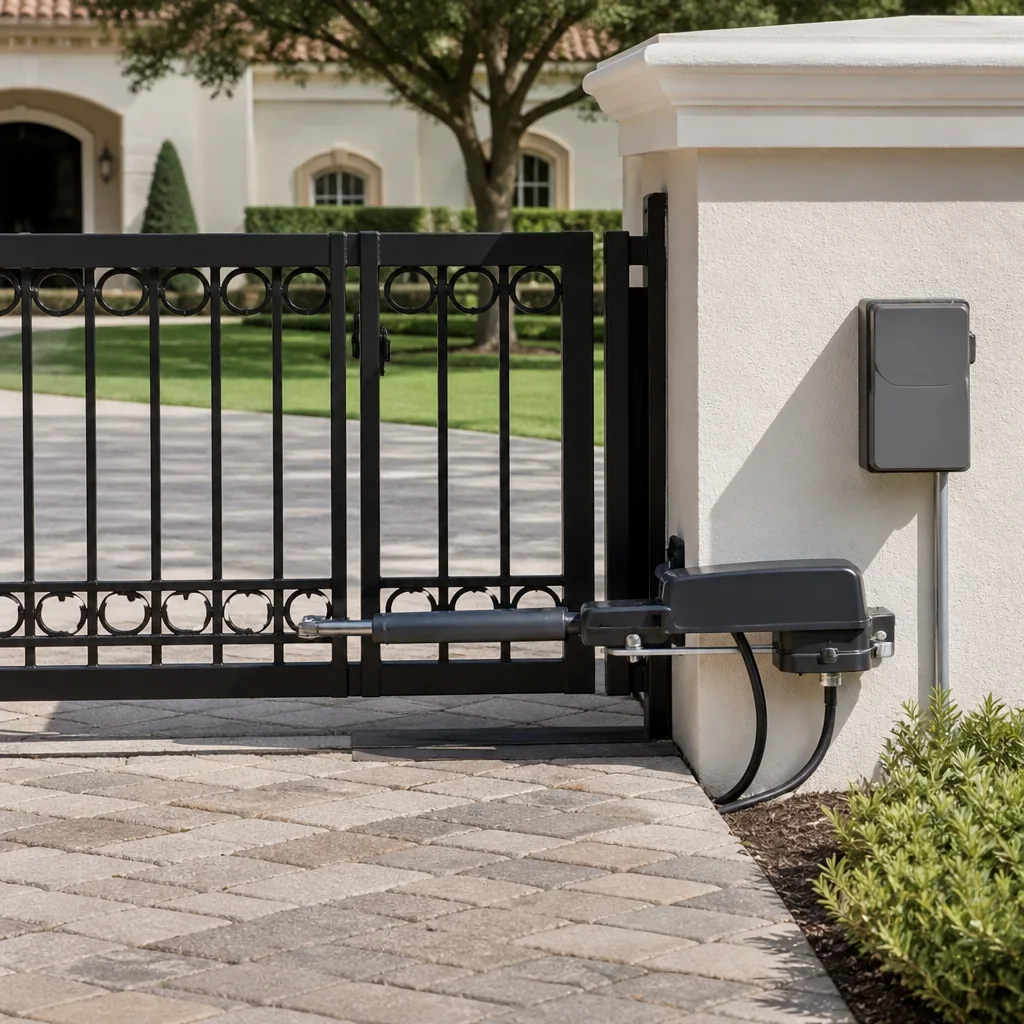 LiftMaster operators
Free on-site gate assessment - hinges, posts, and your LiftMaster or Nice gate operator checked before anything is quoted
The assessment is free and the quote is the invoice.
Get your free estimateGate Repair Troubleshooting in Glendale: Common Problems and How to Fix Them
Most gate failures we see in Glendale don’t start with a broken motor. They start with the ground under the posts and the heat coming off it. Homeowners often assume a gate that drags, sticks, or reverses on its own has an electrical problem, then spend time and money chasing the control board when the real culprit is a post that shifted a quarter inch after a dry summer. This guide teaches you to read your gate’s symptoms the way a technician does: what the sound means, what the fault code is telling you, and what you can reasonably check before you call. By the end, you’ll know which failures are cosmetic, which are mechanical, and which point straight to the electronics.
Quick Answer
Most gate problems in Glendale come down to three root causes: heat stress on wiring and electronics, seasonal soil movement from caliche clay, and skipped lubrication on moving parts. A gate that stops mid-travel, reverses unexpectedly, or grinds usually points to alignment or a limit switch, while a gate that won’t power on or beeps in a pattern points to the control board, battery backup, or photoeyes. You can safely check power, clear obstructions, and inspect for burnt wire; leave spring tension, limit screw adjustments on worn operators, and underground loop splices to a trained technician.
Styles & brands we work with
- Wrought iron
- Wood & steel frame
- Farm & ranch
- Sliding driveway gates
- LiftMaster operators
Table of Contents
- Why Glendale Heat Breaks Gate Electronics Before the Motor Fails
- Symptom-to-Cause: Reading Your Gate Like a Technician
- The Caliche Soil Problem: When It’s the Post, Not the Motor
- Heat Cycling and Wiring Harnesses: What Burnt Insulation Tells You
- Reset Clears the Symptom, Not the Fault: Reading Operator Codes
- Three Things Homeowners Should Never Adjust Themselves
- A Step-by-Step Troubleshooting Sequence You Can Do Safely
- Matching Symptoms to Your Brand: Viking, Ghost Controls, DoorKing, Elite
Why Glendale Heat Breaks Gate Electronics Before the Motor Fails
Gate operators in Glendale live in one of the harshest operating environments in the country. Summer surface ground temperatures here can climb past 160°F, and an operator housing sitting in full afternoon sun bakes well above ambient air temperature. Your motor is built to handle that. The wiring insulation and the control board capacitors are not.
What that means in practice is that the failure order is usually reversed from what homeowners expect. The motor is often the last thing to go. The first things to fail are the components that degrade quietly under sustained heat:
- Wire insulation on the operator harness cracks and flakes, exposing conductors to vibration and moisture.
- Control board capacitors dry out, causing erratic behavior, phantom faults, and gates that reverse for no reason.
- Battery backups in solar and DC operators lose capacity fast in heat, so a gate that worked fine on battery in spring may not hold a charge by August.
- Photoeye lenses cloud and yellow, reducing beam strength until the gate refuses to close.
This is why calls spike every July. A gate that was marginal in May fails outright when the ground heats up. When we arrive on a heat-related call, we start at the housing and the wire loom before we touch the motor, because that’s where the failure is most likely to be. If you’re already seeing symptoms, the difference between a $12 replacement component and a full operator swap is often just diagnosing in the right order. Our Gate Repair Glendale team does exactly that on every call.
Symptom-to-Cause: Reading Your Gate Like a Technician
The fastest way to narrow down a gate fault is to match the symptom to the likely system. A technician doesn’t guess; they listen, watch, and map the behavior to a component. You can do the same. Here’s how the common symptoms break down:
- Gate stops mid-travel and won’t continue: Most often a limit switch or an obstruction detection trigger. On slide gates, check for debris in the track first.
- Gate reverses immediately after starting to close: Classic photoeye fault. The safety beam is broken, misaligned, or the lens is dirty.
- Gate moves slowly or grinds: Mechanical, not electrical. Check hinges, rollers, track, and lubrication before suspecting the motor.
- Motor hums but gate doesn’t move: Usually a stripped gear, a seized bearing, or a disengaged manual release.
- Operator beeps in a pattern and won’t respond: Fault code. This is electronics, and the pattern is telling you what failed.
- Gate won’t power on at all: Check the breaker and the low-voltage transformer before anything else.
- Remote works intermittently: Receiver antenna, battery in the remote, or interference from a nearby device.
Notice that the mechanical symptoms read very differently from the electrical ones. A grinding gate is almost never a control board problem, and a beeping gate is almost never a hinge problem. Sorting your symptom into the right column first saves you the diagnostic time. If your gate has been slowly getting worse over weeks rather than failing suddenly, that’s a strong signal for mechanical wear or alignment drift rather than an electronic fault.
The Caliche Soil Problem: When It’s the Post, Not the Motor
Glendale sits on caliche, a calcium-cemented soil layer that expands and contracts with moisture. In a dry year it shrinks and cracks. After winter rain it swells. That movement happens under your gate posts, and a post that shifts even a fraction of an inch throws the whole gate geometry off.
The tricky part is that a misaligned gate and a failing motor produce almost identical symptoms at first. Both cause dragging, stalling, and reversal. Here’s how to tell them apart:
- Look at the gap between the gate and the post. A parallel gap that has become wedge-shaped points to post movement.
- Watch the gate through a full cycle. If it binds at the same point every time regardless of speed, that’s mechanical alignment. If it binds randomly, that’s electrical.
- Check the track on a sliding gate. A track that’s no longer level across its length means the ground moved.
- Listen for the sound. Metal-on-metal scraping at a consistent spot is misalignment. A rhythmic click is usually a limit or gear issue.
Seasonal ground movement is normal here, and a gate that worked in March may drag by July as the soil dries. In our experience, the fix is rarely to replace the operator. It’s to re-set the post to proper footing depth, re-level the track, and realign the gate carriage. That’s a mechanical repair, and it’s the kind of work that gets misdiagnosed as a motor problem by generalists. If your gate is grinding or dragging seasonally, it’s worth having someone look at the foundation before you spend money on electronics.
Heat Cycling and Wiring Harnesses: What Burnt Insulation Tells You
Wiring insulation degrades under heat cycling, and in Glendale’s summers it can crack within a single season. When a conductor is exposed, the symptoms are frustrating and intermittent: the gate works in the morning and fails by afternoon, or it responds to the remote sometimes and not others. Intermittent faults are the hardest to diagnose, and they almost always start at the wire.
You can do a safe visual inspection yourself. Turn the power off at the breaker first, then open the operator housing and look at the wire loom. What you’re looking for:
- Cracked or flaking insulation on any of the low-voltage control wires.
- Discolored or brittle wire where it enters the housing – heat damage usually starts at the entry point.
- A faint burnt-plastic smell inside the housing. If you smell it, stop and call a technician. That smell comes from insulation overheating, and continuing to run the gate makes it worse.
- Chewed or abraded wire from rodents or from rubbing against a sharp edge of the housing.
- Loose spade connectors at the control board terminals.
If you find damaged wire, don’t tape it and keep going. Taped insulation fails fast in heat, and a shorted control wire can take out the control board. Replacing the harness is a job for a technician. The reason a visual inspection matters is that it gives the technician a starting point: if you can say “the wire loom is cracked near the entry,” the diagnostic time drops and the repair gets targeted. Our electric gate repair service handles the low-voltage side of the operator, from the harness to the control board, so a heat-damaged loom gets replaced, not taped over.
Reset Clears the Symptom, Not the Fault: Reading Operator Codes
Resetting an operator, by cutting power and restoring it, clears the fault memory temporarily. That’s why it often works at first and then fails again within days. The reset doesn’t fix anything. It just tells the control board to forget what it saw. If you want to actually diagnose the problem, you need to read the fault code before you reset.
Most residential operators store a fault code in memory. You read it through the LED on the control board or through a diagnostic menu, depending on the brand. Here’s how to approach it:
- Before resetting, write down the LED blink pattern or the code displayed. The pattern is the board’s record of the last fault.
- Count the blinks and separate short blinks from long blinks. Most operators use a short-long scheme to signal specific faults.
- Match the code to the manual. Every operator brand publishes a fault code table. Keep the manual for your operator in a drawer near the gate; you’ll need it.
- Look for codes that repeat. A single random fault is often a voltage blip. A code that comes back within a few cycles is a real fault.
- Note the conditions when it faults. Did it fail on open or close? In full sun or after dark? That context narrows the likely cause.
If your operator is a Ghost Controls or Viking unit, the diagnostic display and the fault table are different from the more common residential brands, and those are the systems that general repair companies often decline. Having a technician who knows the specific code scheme for your operator matters more than the brand name on the housing. Elite and DoorKing systems have their own diagnostic conventions as well, and the code that means “photoeye blocked” on one brand can mean something else entirely on another. That’s why we keep the fault tables for these brands on hand.
Three Things Homeowners Should Never Adjust Themselves
Gate repair has three adjustments that look simple and are genuinely dangerous or damaging. We recommend leaving all three to a trained technician, not because they’re complicated, but because the risk is out of proportion to the savings.
1. Spring tension
If your gate is a swing gate with springs, the springs and their tensioning hardware are under high mechanical load. Loosening or tightening them without the right tools and knowledge can cause the springs to release suddenly, and the resulting injury is serious. On a swing gate, the spring counterbalances the gate’s weight; an unbalanced gate will eventually fail at the hinges or the operator. A technician measures the spring force and adjusts it safely.
2. Travel limit screws on worn operators
Adjusting the limit switches on a healthy operator is straightforward. Adjusting them on a worn operator is a different story. If the gear train has play in it, changing the limit will mask the symptom temporarily and then the gate will overtravel or stall harder, which accelerates the wear. The right sequence is to check the mechanism first and adjust the limits after the wear is corrected.
3. Underground loop wire splices
Vehicle loop wire is buried in the driveway, and the splices are often below grade. A failed splice causes the gate to close on a car or refuse to open on approach. Digging down to repair a splice risks damaging the loop and the surrounding conduit. It’s a job for a technician who can test the loop from above grade and re-splice safely.
None of these adjustments are worth the risk. If your gate needs any of them, call us. The estimate is free and we’ll tell you honestly whether the fix is a small adjustment or something bigger.
A Step-by-Step Troubleshooting Sequence You Can Do Safely
When your gate acts up, run through this sequence before you call. It’s designed to sort the problem into “I can fix this” and “this needs a technician,” and it gives the technician useful information if you do call.
- Check the power. Verify the breaker at the panel and the on/off switch at the operator. This sounds obvious, and it’s the most common cause of “dead” gates.
- Test the manual release. If the gate is a swing or slide operator with a manual release, disengage the operator and move the gate by hand. If it binds, you have a mechanical or alignment problem. If it moves freely, the problem is in the operator.
- Look at the sensors. Clean the photoeye lenses and check that they’re lined up. A leaf or a spider web will stop a gate from closing.
- Watch the full cycle. Note where it fails: start of open, mid-travel, at the end of travel, or on close only. Each point corresponds to a different component.
- Record the fault code before resetting. If the operator has a diagnostic LED, write down the blink pattern.
- Inspect the visible wiring, with power off. Look for cracked insulation, loose connectors, and any burnt smell.
- Write down what you saw and call. With your notes in hand, the diagnosis is much faster.
This sequence keeps you out of the high-risk components. Everything above is safe to check. The spring tension, the underground loop, and the limit screws on a worn operator are not.
Matching Symptoms to Your Brand: Viking, Ghost Controls, DoorKing, Elite
Every operator brand has its own failure patterns, and knowing them helps you describe the problem accurately. On a Viking system, we often see battery and solar-charging issues first in the heat. Ghost Controls units, common on residential swing gates, tend to show photoeye alignment and remote-receiver problems, and they’re frequently skipped by general repair companies. DoorKing commercial operators have their own control board and loop wiring conventions. Elite systems show limit and travel issues when the operator is worn.
The common thread is that we work on your brand, whichever of the nine major brands it is. That matters when your gate is a Ghost Controls or a Viking and the generalist you called says they don’t handle it. It also matters that we don’t have a brand we’re locked into selling. Our recommendations are driven by what your gate actually needs, not by which manufacturer we’re pushing. That includes LiftMaster, FAAC, BFT, Linear, and Mighty Mule, plus the four above.
For a full-service specialist in Glendale, that brand-agnostic approach is the reason customers call once and don’t need a second vendor as their needs change from repair to replacement. Our technicians have up to 12 years of experience across both mechanical and low-voltage automated systems, and we’ll tell you plainly when a repair is the right call and when it isn’t.
Common Mistakes to Avoid
- Resetting the operator before reading the fault code. The reset wipes the diagnostic memory, and you lose the clearest clue you had. Always write down the blink pattern or code first.
- Assuming a dragging gate means a bad motor. In Glendale, caliche soil movement is a far more common cause of dragging than motor failure. Check post alignment and the track before pricing an operator.
- Taping over cracked wire insulation. Tape fails fast in summer heat and a shorted control wire can destroy the control board. Replace the harness or call a technician.
- Adjusting the travel limits on a worn operator. This masks the wear and accelerates it. The mechanism needs to be checked first.
- Ignoring a battery backup in a DC or solar operator. Batteries fail faster in heat, and a dead backup takes the gate out when the power blips. Test the battery before the hot season.
- Calling a general handyman for an electronic gate fault. Automated gate repair is low-voltage work with brand-specific diagnostics. A generalist will often recommend a replacement rather than diagnose the board.
- Skipping lubrication through the dry months. Deferred lubrication is one of the three root causes we see most. Hinges, rollers, and the track need attention before the gate starts grinding.
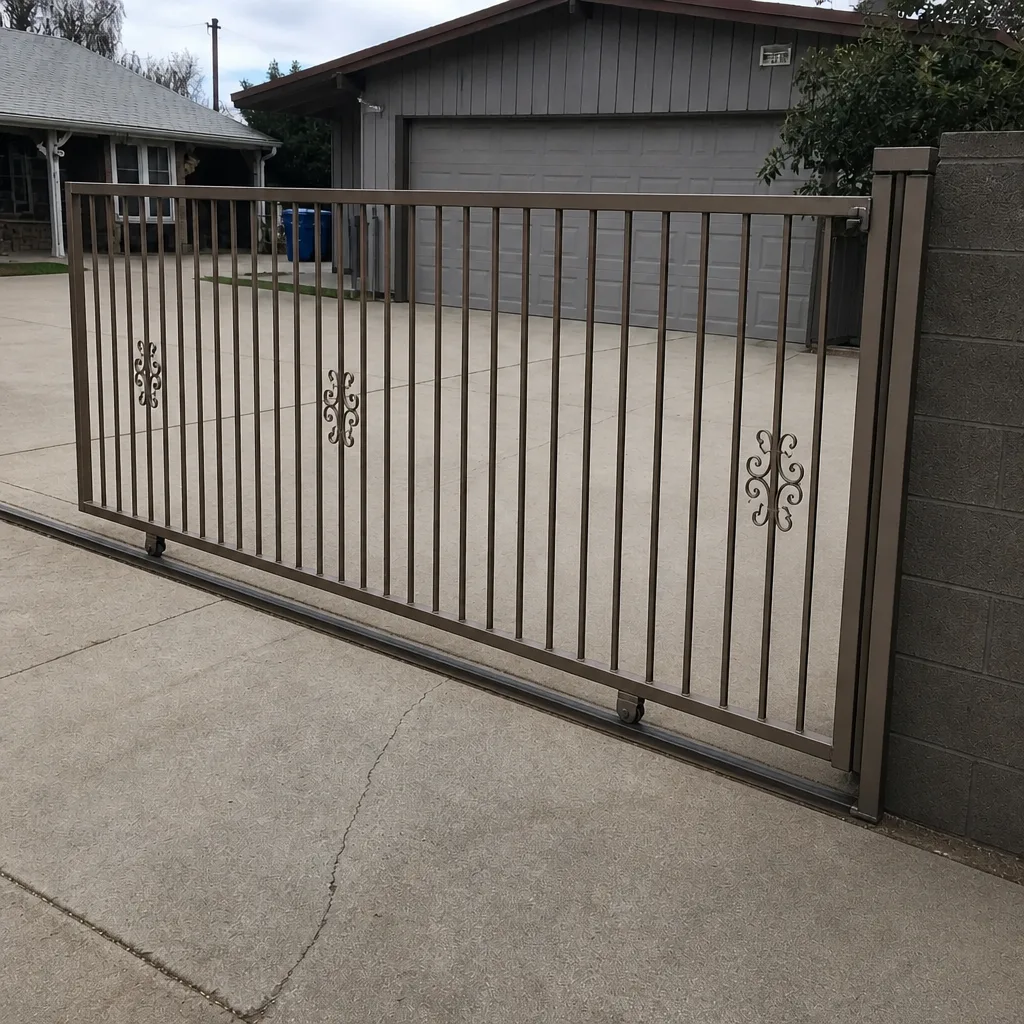
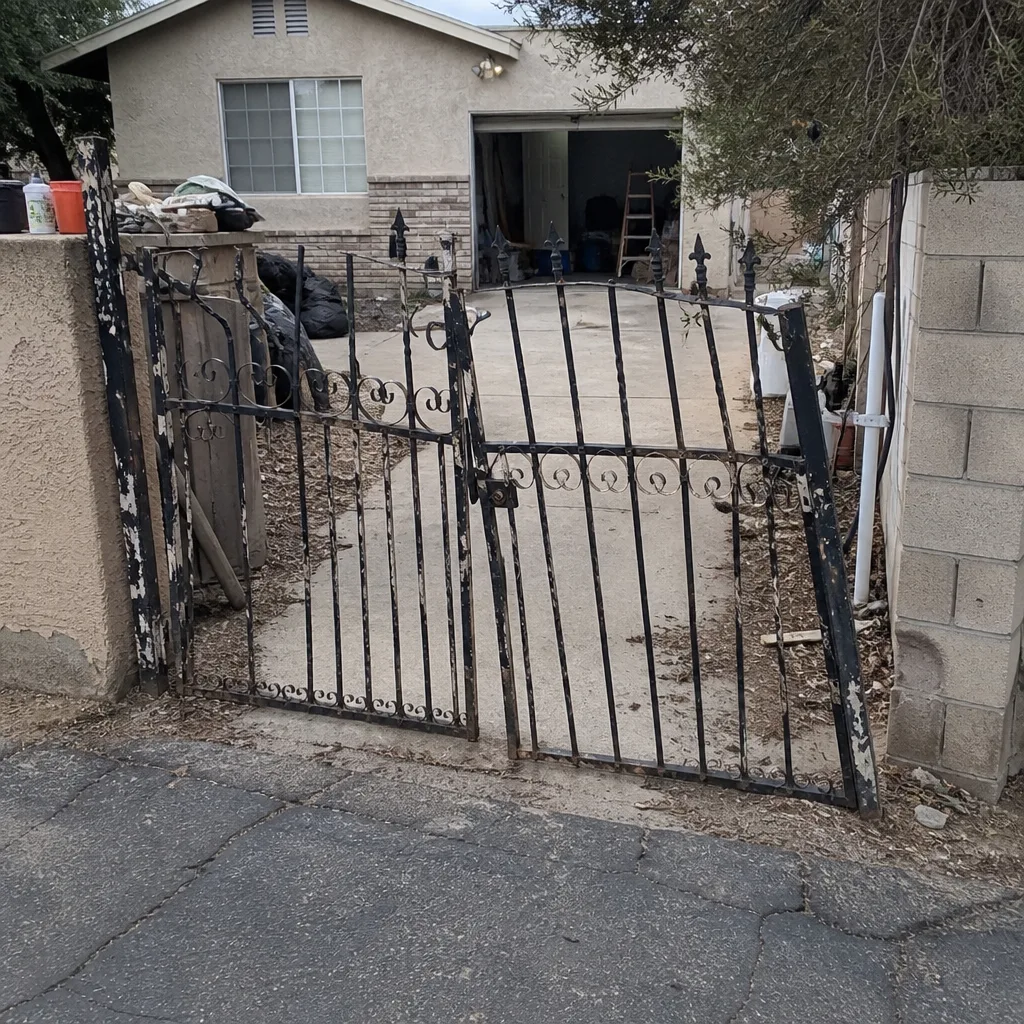
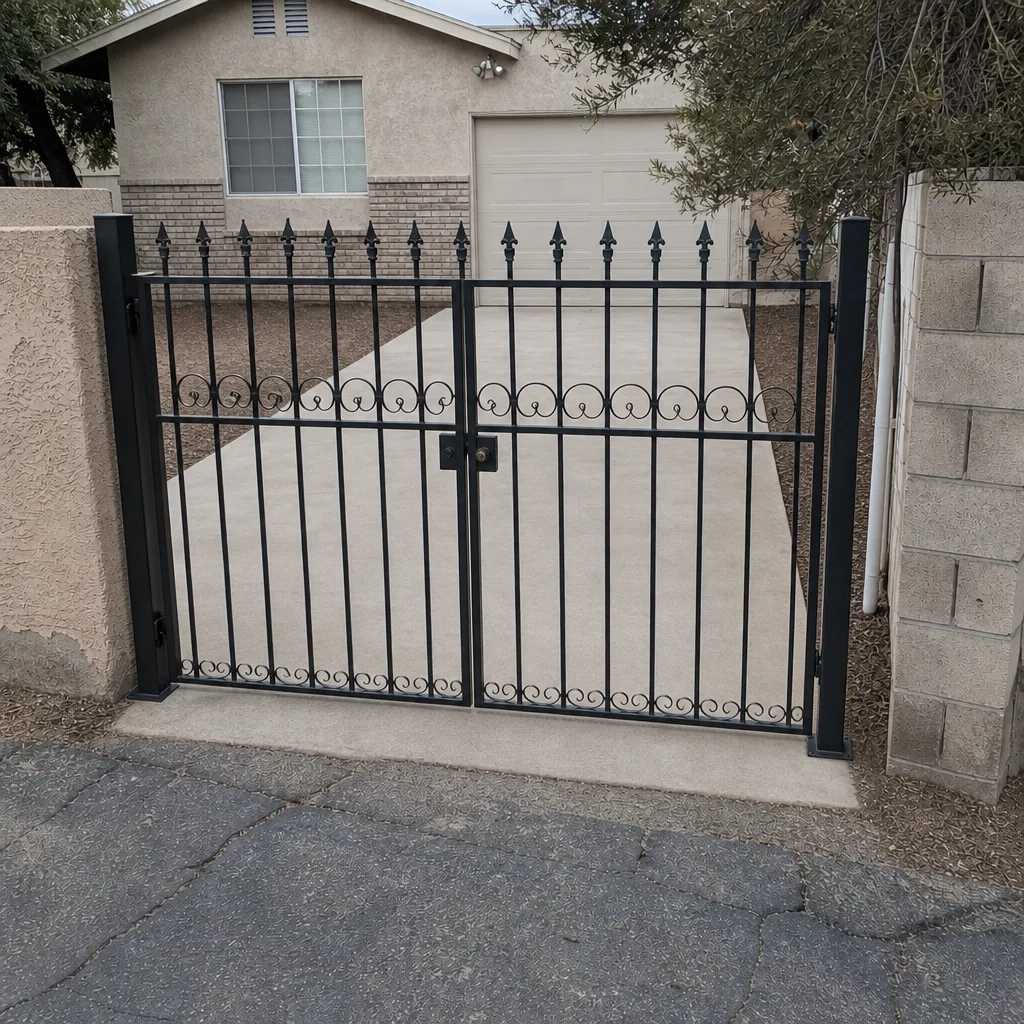
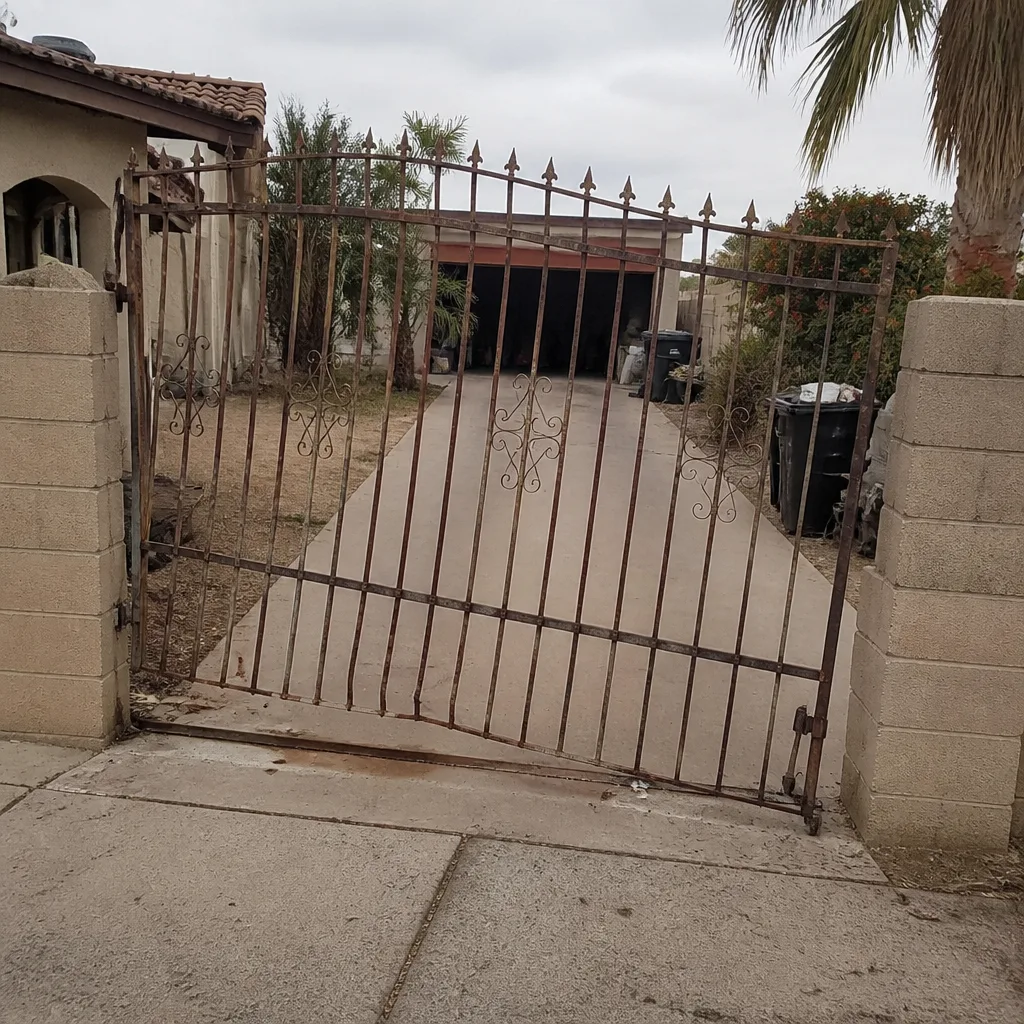
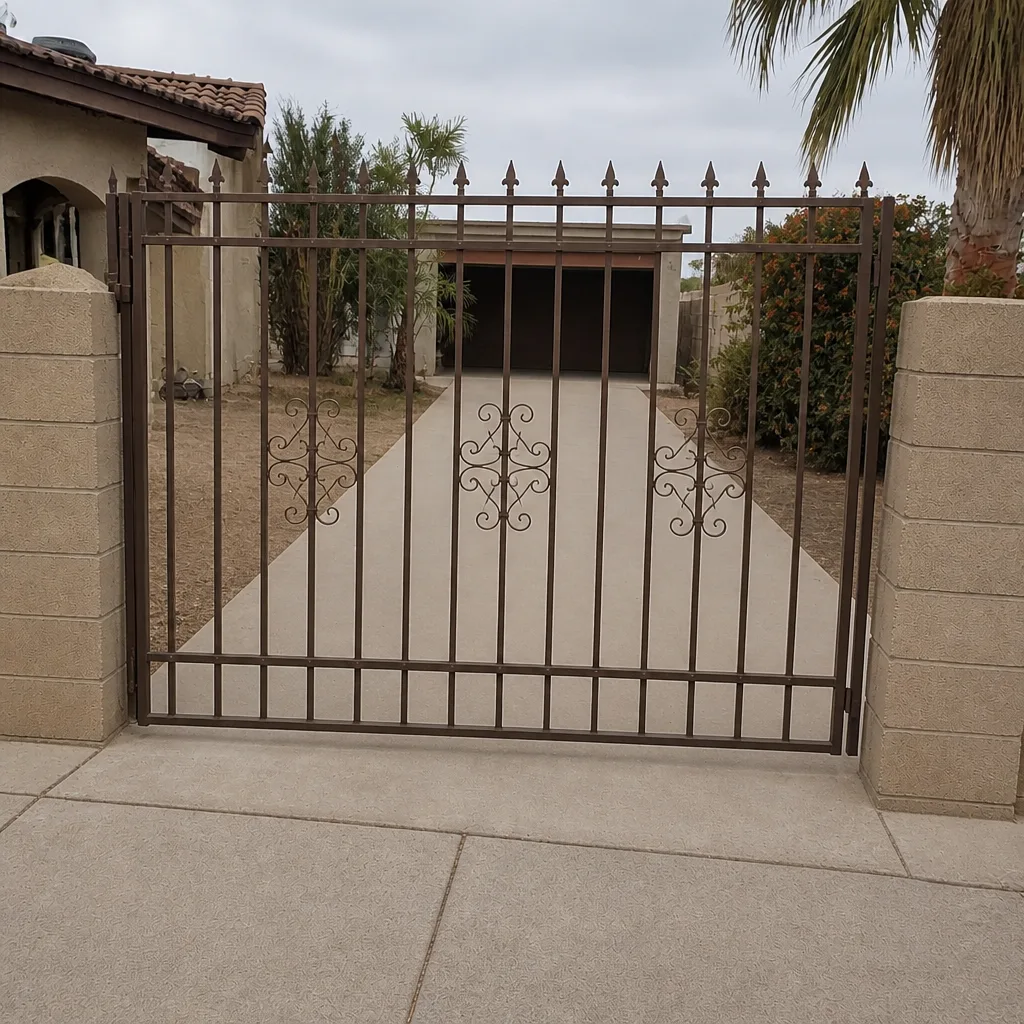
See the difference
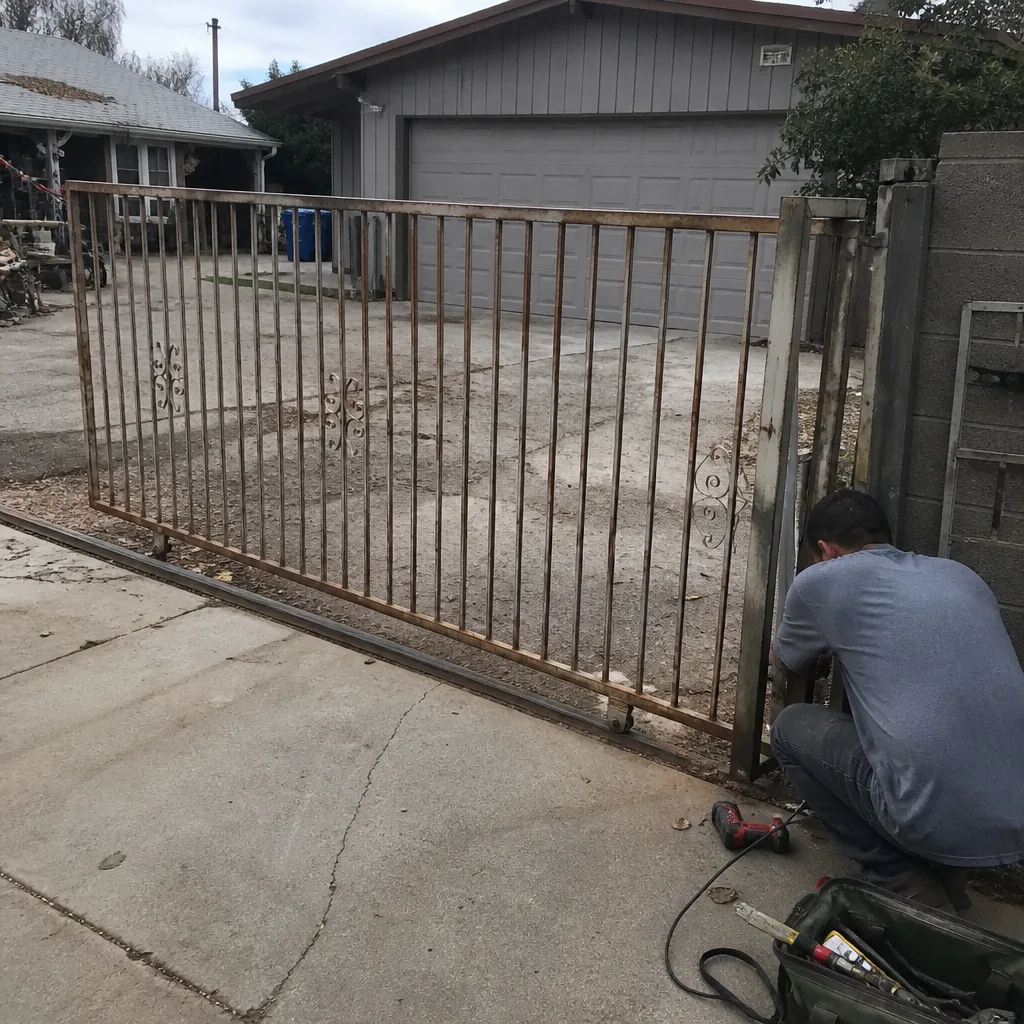 Before
 After
 Before
 After
 Before
 After
When to Call a Professional
Call a technician when your gate won’t power on, when the operator shows a fault code you can’t match, when there’s a burnt smell inside the housing, or when the gate reverses unexpectedly with no visible obstruction. Call when the gate binds at a consistent point through a full cycle, when a post or track looks out of level, or when a repair you tried has stopped working within days. Call before you touch spring tension, travel limits on a worn operator, or an underground loop splice. And call when the gate is a Ghost Controls, Viking, Elite, or DoorKing system you haven’t been able to get serviced. Gate Repair Glendale offers free estimates in Glendale – call (855) 632-1674. We answer 24/7. Fast dispatch from 7am to 7pm, Sunday through Friday, and the price is quoted and agreed before any work starts.
Frequently Asked Questions
Heat is the likely cause. Summer ground temperatures in Glendale can exceed 160°F at the surface, and that heat degrades wiring insulation and control board capacitors faster than anything else. The operator may be fine in May and fail in July because a marginal component finally gave out. If your gate fails with the first hot stretch, have the housing and wire loom inspected before replacing the motor.
It’s almost always a sensor issue, not the motor. A gate that starts to close and reverses immediately is usually seeing a broken photoeye beam, a misaligned lens, or a dirty sensor. Clean the lenses and check alignment first. If that doesn’t fix it, the safety edge or the loop wiring may be the fault, and that’s a technician’s job.
Only on a healthy operator in good mechanical condition. If the gate is worn, adjusting the limits masks the wear and makes it worse. If you’re not sure about the condition of the gear train, leave the adjustment to a technician. It’s a small job for a trained hand and a costly one to get wrong.
Caliche soil movement. Glendale’s calcium-cemented clay shrinks in the dry months and swells after rain, and that shifts gate posts seasonally. A post that moves even a fraction of an inch throws the gate out of alignment. The fix is re-setting the post to proper footing depth and realigning the carriage, not replacing the motor.
Write down the blink pattern before you reset it. The pattern is a fault code, and it tells a technician exactly which component failed. Then call with the code in hand. If you reset first, the board forgets what it saw and the diagnosis takes longer. Call (855) 632-1674 if you want help reading the code – estimates are free.
Yes. We service nine of the most widely installed operator brands, including Ghost Controls, Viking, DoorKing, Elite, LiftMaster, FAAC, BFT, Linear, and Mighty Mule. Those systems are often skipped by general repair companies, which is exactly why we keep the diagnostic tables and parts knowledge for them on hand. If your brand is on that list, we can work on it.
The Bottom Line
Most gate failures in Glendale come from three root causes: heat stress on wiring and electronics, seasonal soil movement from the caliche layer, and skipped lubrication on moving parts. Read your symptom first, sort it into mechanical or electrical, and record the fault code before you reset anything. The reset clears the symptom, not the fault. Stay away from spring tension, travel limits on worn operators, and underground loop splices, and let a technician handle those. If your gate is beeping, dragging, or reversing, call (855) 632-1674 for a free estimate. We answer 24/7, with fast dispatch from 7am to 7pm, Sunday through Friday.
Written by the team at Gate Repair Glendale.