
Last updated November 16, 2026
 Wrought iron
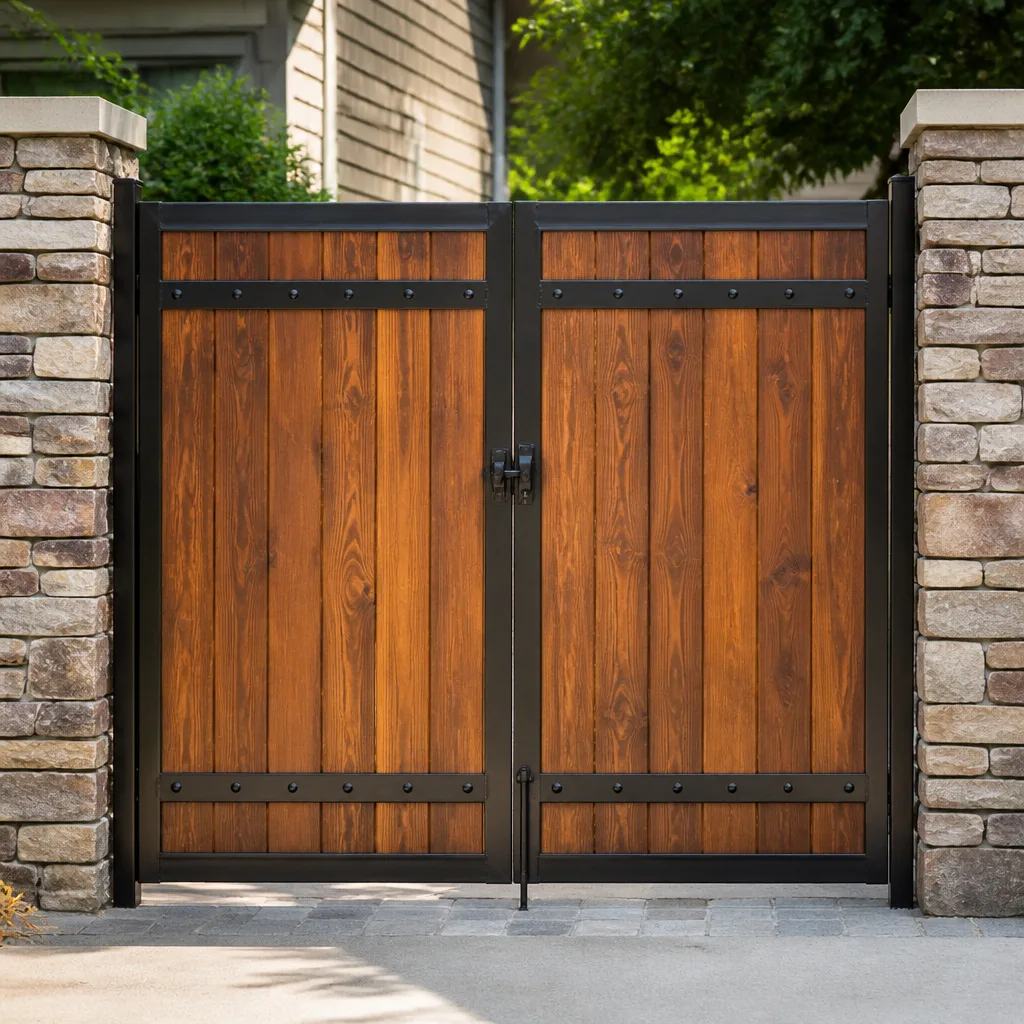 Wood & steel frame
 Farm & ranch
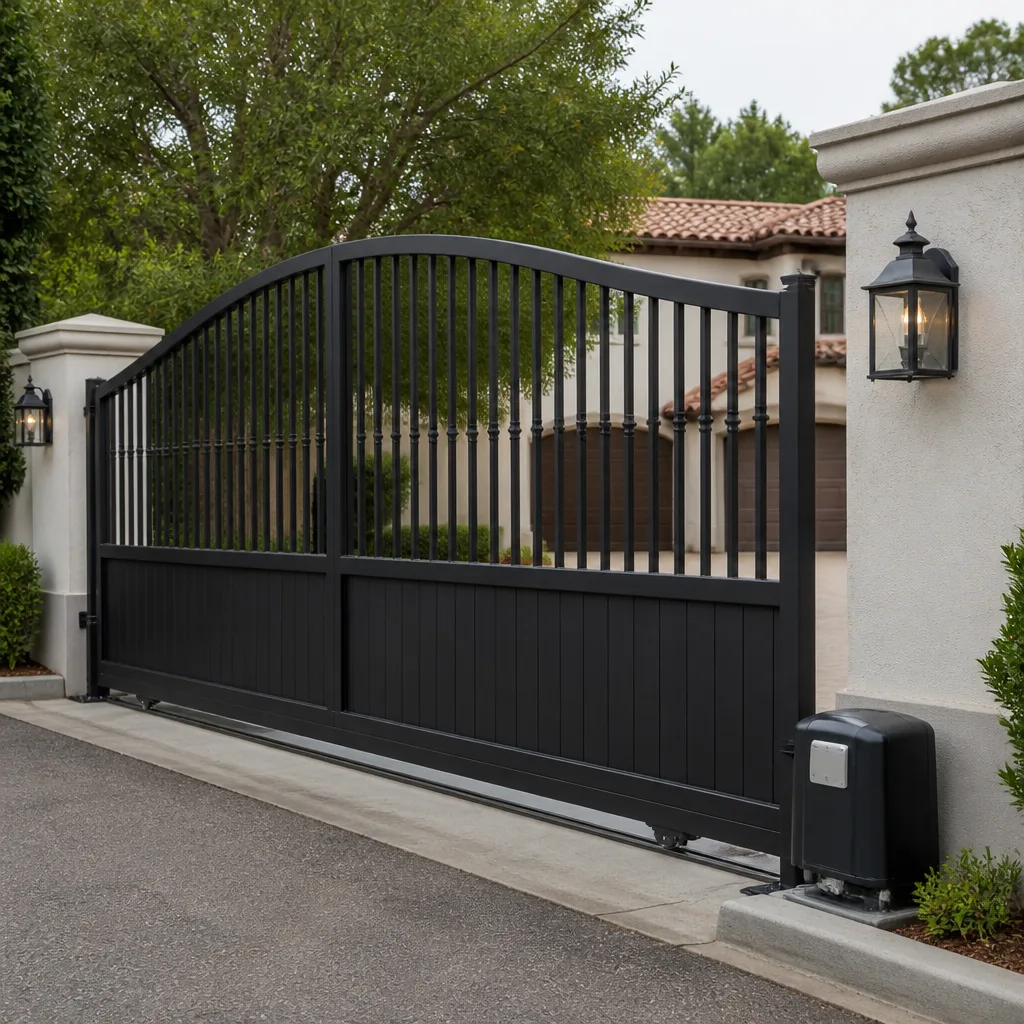 Sliding driveway gates
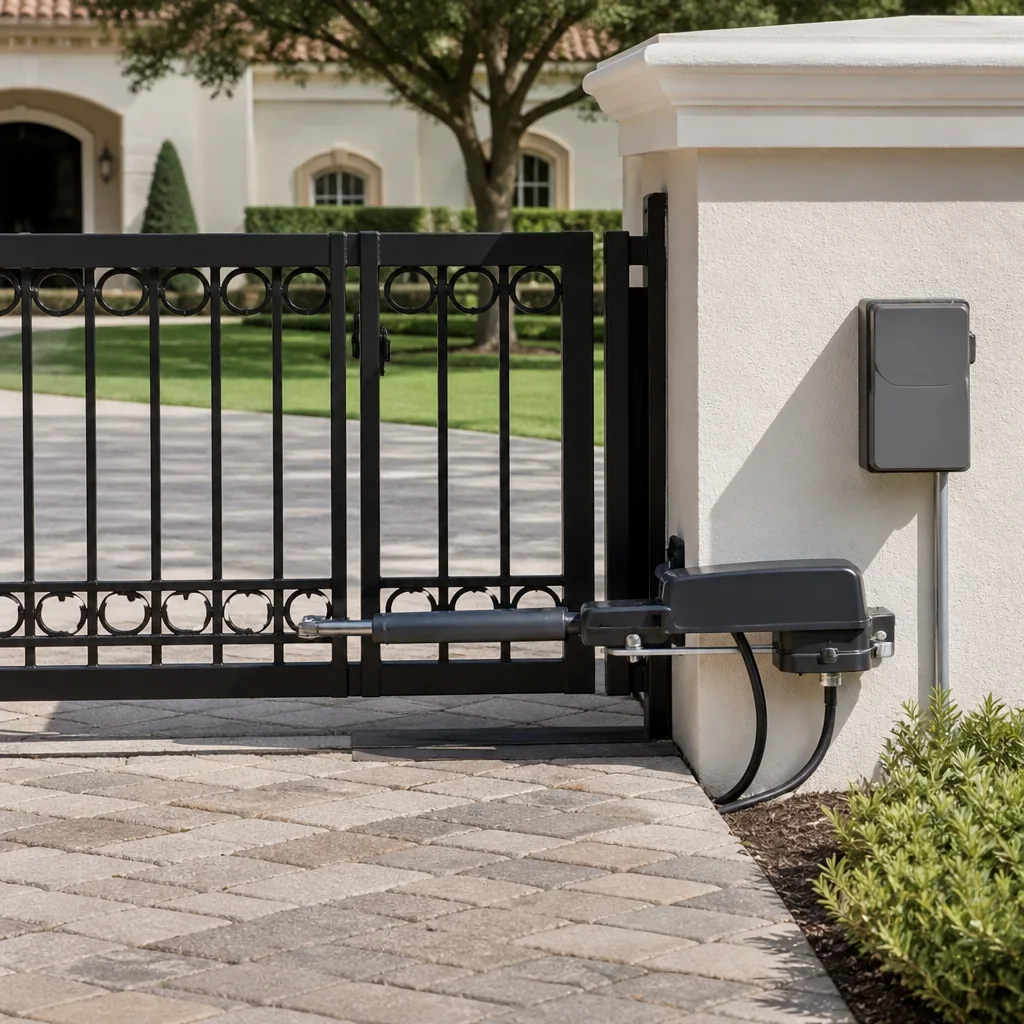 LiftMaster operators
Free on-site gate assessment - hinges, posts, and your LiftMaster or Nice gate operator checked before anything is quoted
The assessment is free and the quote is the invoice.
Get your free estimateGate Repair Maintenance Checklist for Glendale Homeowners
The generic “6-month maintenance checklist” that came with your gate was probably written for a mild coastal climate. It won’t mention cleaning silt out of the track after a haboob, checking wiring insulation for UV cracks, or re-greasing a chain drive once summer heat has thinned the grease below the point where it protects anything. Your gate here lives through something different: months of hard sun, fine desert dust that finds every seam, and sudden monsoon moisture that turns that dust into grit. This guide is a maintenance checklist built for the conditions a gate actually faces in Glendale, from the operator down to the hinges.
Quick Answer
A gate maintenance checklist for Glendale should be organized around four local stressors: UV and heat, fine dust, monsoon moisture, and the thermal expansion that comes with big day-to-night temperature swings. Inspect moving parts and the safety system monthly, do a deeper service before summer and before monsoon season, and check the full system after any significant dust storm or hard rain. The parts that fail first here are usually lubrication, wiring insulation, and photo-eye alignment, not the motor itself.
Styles & brands we work with
- Wrought iron
- Wood & steel frame
- Farm & ranch
- Sliding driveway gates
- LiftMaster operators
Table of Contents
- Why Standard Gate Checklists Miss the Mark in Glendale
- The Monthly Walk-Around: 10 Minutes That Save Repairs
- Post-Monsoon Inspection Protocol
- UV and Heat Degradation: What 3-5 Arizona Summers Do to Each Material
- Lubrication Spec for Glendale Conditions
- Testing Photo-Eye Alignment Drift from Thermal Expansion
- Seasonal Task Cadence: Before Summer, Before Monsoon, After the First Dust
- Operator and Control Board Checks by Brand
Why Standard Gate Checklists Miss the Mark in Glendale
Most maintenance schedules are written for a place with mild summers, regular rain, and stable humidity. Glendale is not that place. A gate here may see weeks of triple-digit heat followed by a monsoon that drops a season’s moisture in an afternoon, then a dust storm that coats every exposed surface in fine grit. Each of those stresses a different part of the system, and the checklist needs to reflect that.
The other problem is that generic lists treat a gate as one thing. A gate is really three systems working together: the mechanical structure (posts, hinges, tracks, panels), the operator (motor, gearbox, drive), and the control and safety electronics (control board, photo eyes, loop sensors, keypad). Each system ages differently under Glendale conditions. Aluminum panels and powder coat handle sun well; vinyl and wood do not. Chain drives lose lubricant viscosity in heat; wiring insulation cracks under UV; photo-eye brackets move as metal expands and contracts through the day.
In our experience, the repairs that surprise homeowners most are rarely motor failures. They’re the slower, quieter breakdowns: a photo-eye knocked a few degrees off by thermal drift, a chain running dry, a hinge pin that seized months ago and is now wearing the gate frame. A checklist built for this climate catches those before they become a service call. Throughout this guide, when we say “inspect” for a component that carries line voltage or stores mechanical energy, we mean look, listen, and test the safety function from the outside. We don’t recommend opening control enclosures or adjusting drive hardware yourself.
The Monthly Walk-Around: 10 Minutes That Save Repairs
Ten minutes a month catches the majority of problems before they turn into repairs. Walk the gate with the operator off and run this list in order.
- Look at the whole gate in motion. Open and close it once and watch. Listen for chain slap, a grinding hinge, or a panel that sags. A gate that used to run quiet and now doesn’t is telling you something.
- Check the tracks and the ground path. Sweep or blow out grit. In Glendale, dust accumulates in slide-gate tracks and under cantilever rollers faster than most checklists expect.
- Test the safety reverses. With the gate moving, break the photo-eye beam with your hand (or a piece of cardboard) and confirm it reverses. Do this every month. This is the single most important safety check on an automated gate.
- Inspect the hinges and rollers. Open the gate by hand. It should move without binding. A hinge that squeaks or a roller that drags is a candidate for lubrication or replacement.
- Look at the wiring where it enters the operator and the posts. You’re checking for cracked or chalky insulation, not touching the conductors. UV damage shows up as a dull, powdery finish on the jacket.
- Check the posts for movement. Push firmly on each post. Any wobble means the footing or the hardware is loosening and needs a professional look.
- Look at the control box exterior. Confirm the cover is sealed and there’s no sign of water intrusion or insect nests at the entry points.
- Test the keypad or remote. Confirm every entry method works. A failing remote battery or a keypad with dust in the keys is an easy fix now, a frustration later.
- Clear vegetation and debris. Trim anything that touches the gate or the operator. Keep the photo-eye lenses clean with a soft cloth.
- Listen at the operator. A click, a hum without movement, or an unusual whine is a diagnostic clue, not something to wait out.
If any step fails, stop. Do not climb into the operator housing or adjust the drive yourself. The control board carries line voltage and the drive hardware stores mechanical force, so the repair belongs with a trained technician. If you’re in Glendale and want a second look, our gate repair service covers diagnostics on exactly this kind of checklist finding.
Post-Monsoon Inspection Protocol
Monsoon season is the biggest single stress event of the year for a Glendale gate. It combines two things that are each hard on equipment: a sudden jump in moisture and a surge of wind-driven dust and debris. The inspection after a storm is different from the routine monthly walk-around.
Within a day or two of a significant storm, check these components:
- Operator enclosure and control box. Confirm the seal held. Even a small amount of water in a control box can cause intermittent faults that are hard to trace later.
- Photo-eye lenses and alignment. Wind and blown grit knock the brackets out of line. Clean the lenses and confirm the beam still reverses the gate. If it doesn’t, the alignment has drifted.
- Tracks and ground clearance. Storm runoff carries silt and debris into slide-gate tracks and under cantilever gates. Clear it before the operator runs against the resistance.
- Hinge pins and roller assemblies. Moisture plus dust makes a paste that accelerates wear. Clean and re-lubricate after significant storms.
- Posts and footings. Wind load is real on a solid gate. Look for post lean, loose anchor bolts, or cracking at the base.
- Wiring at grade level and exposed runs. Moisture intrusion at splices and low points causes the majority of post-storm electrical faults.
- Emergency release. Confirm the manual release still functions so you can open the gate if a power or operator fault occurs.
- Limit switches. Confirm the gate still stops in the correct positions. Storm-driven hardware movement can shift limits.
The first time you run this protocol, expect it to take an hour. After that, the post-storm check is largely a confirmation exercise. When something fails, our electric gate repair service is built around diagnosing low-voltage, control board, and limit switch faults on automated gates, which is where most post-monsoon issues land.
UV and Heat Degradation: What 3-5 Arizona Summers Do to Each Material
The sun here ages gate materials faster than anywhere else in the country. What a manufacturer’s manual calls “long-term exposure” in a moderate climate happens here in about half the time. Here’s how the common materials behave after 3-5 summers.
- Powder coat over steel or aluminum. Holds up best. Expect surface chalking and some fading after several summers. The real concern is edges and fastener points, where the coat thins and rust begins underneath. Inspect the bottom rail and any panel edges every year.
- Aluminum (mill finish or anodized). Structurally stable, cosmetically less so. Anodized surfaces dull, and mill finish oxidizes to a light gray. Neither is a failure, but it’s worth knowing that discoloration isn’t damage.
- Vinyl. UV causes vinyl to become brittle and to yellow. In this climate you may see surface cracking on stress points (hinge anchors, panel corners) sooner than a temperate-climate checklist predicts. Watch the fasteners; they’re where vinyl fails first.
- Wood. The hardest material to keep healthy here. Heat and dry air cause checking and splitting; monsoon moisture drives swelling. Expect some refinishing every year or two. If wood panels are already checking, they’re letting moisture in.
- Wiring insulation. The material most people forget. UV light degrades the outer jacket of exposed low-voltage and line-voltage runs. Check where wiring exits posts, transitions to grade, or runs exposed to sun. Chalky, cracking insulation needs replacement before it causes intermittent faults.
- Plastic and vinyl components. Keypads, photo-eye housings, and operator covers all yellow and embrittle. Small cracks are common after a few summers and can admit dust and moisture.
The pattern is consistent across all of these: the structural failures are rare, and the cosmetic and fastener-level failures are common. Yearly inspection should focus on where UV damage meets fasteners, edges, and seals, not on the broad faces of the panels.
Lubrication Spec for Glendale Conditions
Lubrication is where Glendale gates fail most quietly. Greases that work fine in a mild climate thin out in triple-digit heat until they no longer stay where they’re needed. Once the grease runs off a chain, the chain wears and slaps. Once a hinge pin dries out, it seizes. The right product for this climate is one that stays put through summer.
A general lubrication guide for a gate in Glendale:
- Chain drives: use a chain and cable lubricant or a heavy-bodied spray grease rated to stay above roughly 100°F ambient. A thin oil runs off in the heat and leaves the chain dry. A heavier grease stays on the pins and rollers and gets the chain through summer.
- Hinges and pivot points: use a lithium or molybdenum disulfide grease. These resist running off in heat and stay where the joint needs them. Avoid thin spray oils on gate hinges here.
- Roller assemblies (slide and cantilever gates): use a grease suited to sealed bearings. If the rollers are unsealed, grease them more often; dust and grit will compromise them otherwise.
- Photo-eye housings, keypads, and enclosure seals: use a silicone grease or dielectric grease sparingly. These seal out dust and moisture. They’re not lubricants for moving parts, and they should not be used on chains or hinges.
- What to avoid: WD-40-type products as a primary lubricant, thin oils sold for household hardware, and any product that noticeably runs off the part within minutes of application in summer. These thin out below effective viscosity here and leave the part dry.
In practice, the correct routine is: clean off the old, dust-loaded grease first (a dry rag and brush, not a solvent bath), then apply the right product sparingly. Over-greasing attracts dust and turns into an abrasive paste. Re-lubricate a chain before summer and again after the first significant dust event of the fall. If you’re not sure which product suits your operator, our Glendale diagnostic visits include a lubrication review specific to your drive type.
Testing Photo-Eye Alignment Drift from Thermal Expansion
Photo eyes are the safety system on an automated gate. If they’re misaligned, the gate can fail to reverse on an obstruction, or it can stop and refuse to close. One of the most common causes of alignment drift in Glendale has nothing to do with the eyes themselves: it’s thermal expansion of the mounting hardware.
Metal brackets expand and contract with daily temperature swing. In summer, the bracket is at its largest in the afternoon and its smallest overnight. Weeks of that motion can walk an eye slightly off-axis. A marginal alignment that worked all month may fail on the hottest day of the year when the bracket is at its most expanded.
Test alignment with a simple protocol:
- Run the test twice a day for a week: once in the coolest part of the morning and once in the heat of the afternoon. You’re looking for a beam that reverses reliably in one and marginally in the other.
- Clean the lenses first. Dust and grit on the lens mimicks misalignment. Use a soft, dry cloth.
- Break the beam with your hand at mid-span and at both the operator-side and far-side eye. The gate should reverse immediately in both directions of travel.
- Inspect both brackets for looseness and wear. A bracket that can be moved by hand is a bracket that will drift.
- Confirm the alignment.** With the gate open and the eyes active, the operator’s alignment indicator should show aligned. If it flickers, the eyes are marginal and need adjustment.
- If the eyes pass at one time of day and fail at another, note the times and stop testing. That’s a thermal drift signature, and the bracket or mount needs realignment by a technician.
Don’t adjust the alignment yourself. Photo-eye brackets are often set at a specific height and angle to work with a specific gate, and moving one can defeat the safety function even while appearing to work. This is one of the checks we run in our on-site estimates and repairs, and it’s a test most generic checklists don’t include at all.
Seasonal Task Cadence: Before Summer, Before Monsoon, After the First Dust
Three checkpoints a year cover the Glendale climate well. Everything else is the monthly walk-around.
Before summer (late spring)
- Re-lubricate the chain, hinges, pivots, and rollers with heat-stable products.
- Inspect wiring insulation at every exposed transition point.
- Confirm photo-eye alignment at both morning and afternoon temperatures.
- Check post footings and anchor hardware for movement.
- Test the manual release and confirm it operates smoothly.
- Clean and inspect operator enclosure seals.
Before monsoon season
- Clear tracks and ground paths of accumulated dust.
- Confirm drainage near the gate and the operator doesn’t pool water against posts.
- Check control box seals and enclosure gaskets.
- Trim vegetation that could hold moisture against the gate or wiring.
- Test every safety reverse and confirm the emergency stop is functional.
After the first significant dust event of fall
- Clean old dust-loaded grease from the chain and hinges, then re-apply.
- Inspect the control box for dust intrusion.
- Clean photo-eye lenses and re-confirm alignment.
- Check rollers and bearings for grit and wear.
- Confirm the operator runs at normal speed and doesn’t sound strained.
If you coordinate with us, Gate Repair Glendale can size these checkpoints to your specific system, so you’re not guessing which tasks apply and which don’t.
Operator and Control Board Checks by Brand
Different operators have different points of attention, and a technician who knows the brand arrives prepared. We work on Mighty Mule, LiftMaster, FAAC, and BFT systems among others, and the diagnostic approach differs by manufacturer.
A few brand-specific notes for the checklist:
- Mighty Mule operators (common on residential swing and slide gates) tend to show control board faults as intermittent behavior. If your gate reverses at random, cut out mid-travel, or responds only after a delay, the checklist item is “record the behavior, then call a technician.”
- LiftMaster and similar commercial-grade operators run on control boards with detailed fault indicators. Note which LED is lit or flashing before you call; that single detail can save diagnostic time.
- FAAC and BFT operators are robust but sensitive to limit switch positioning and battery backup health. The checklist items are: confirm limits, and confirm the backup battery (if fitted) hasn’t aged out. Batteries in this heat age faster than the manufacturer’s expected life.
The single most useful habit for any brand is to write down what you observed (what it did, when, and under what conditions) before you call. That’s more useful than any single test you can run yourself. Our gate repair service is built around that diagnostic-first approach rather than a replacement-first one.
Common Mistakes to Avoid
- Using a temperate-climate checklist verbatim. A schedule written for mild summers ignores heat thinning your grease and UV degrading your wiring. Adapt the schedule to the four stressors that apply here: UV, heat, dust, monsoon moisture.
- Over-greasing. More grease isn’t better; it traps dust into an abrasive paste that wears parts faster than running dry. Clean and re-grease appropriately.
- Skipping the monthly safety test. A photo-eye that works when you happen to check it isn’t the same as one that works reliably. The safety test is the one monthly item you should never skip.
- Waiting for the gate to fail before checking it. The failures that matter here (seized hinges, dry chains, drifted eyes) are cheap to fix caught early and expensive when caught late.
- Opening the control box yourself. The control board carries line voltage and the drive stores mechanical energy. Leave the interior diagnostics and adjustments to a technician.
- Assuming the operator is at fault when a mechanical issue is present. A straining motor is often a sign of a binding gate, not a failing motor. Diagnose the whole system, not just the electronics.
- Ignoring what you observed. “It opens sometimes and not others” is a diagnostic gold mine that gets lost between the failure and the service call. Write it down.
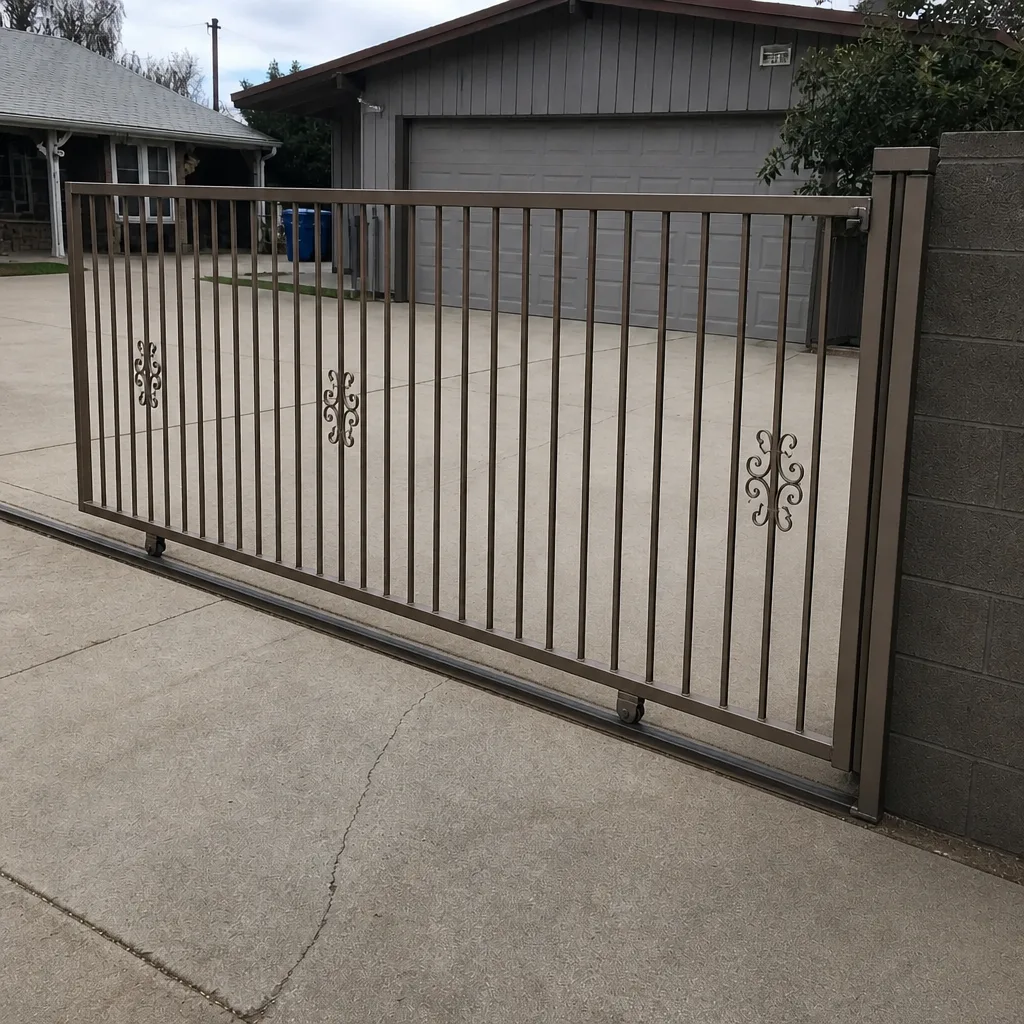
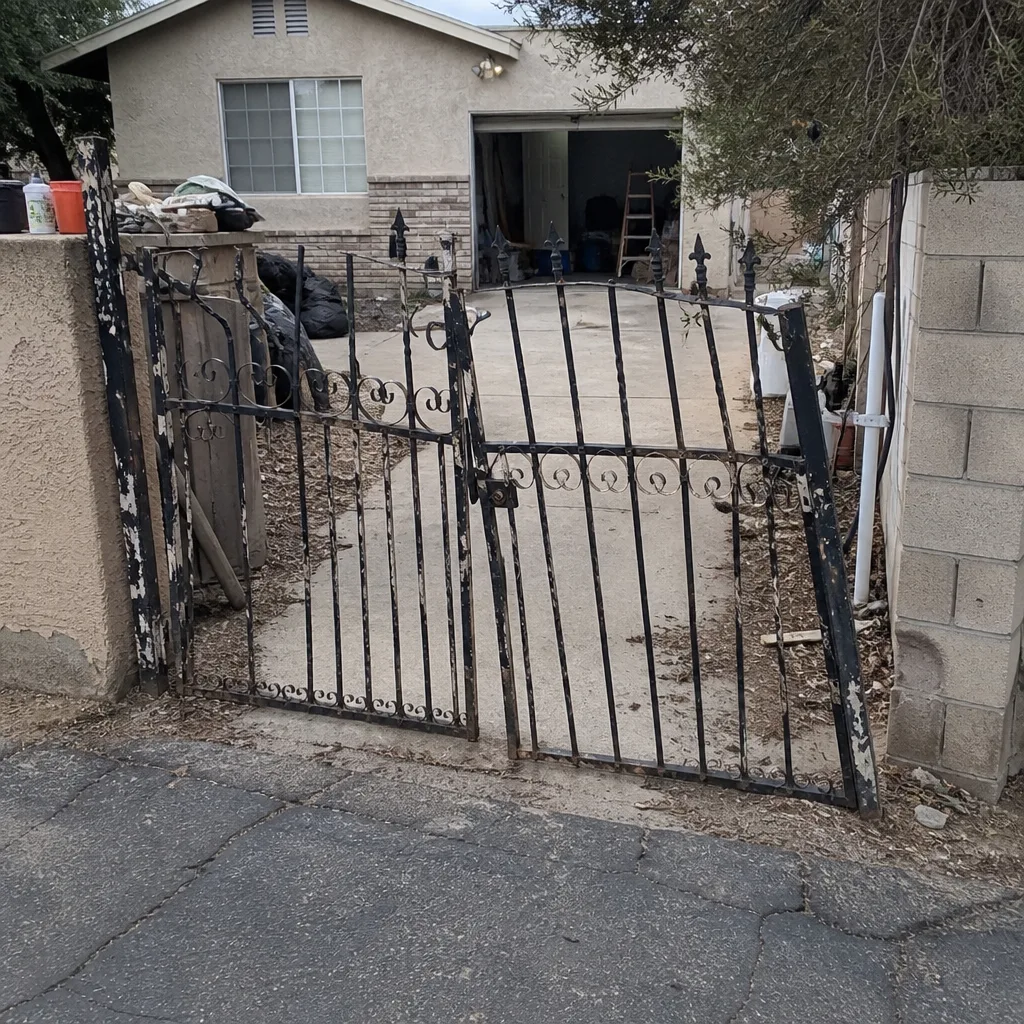
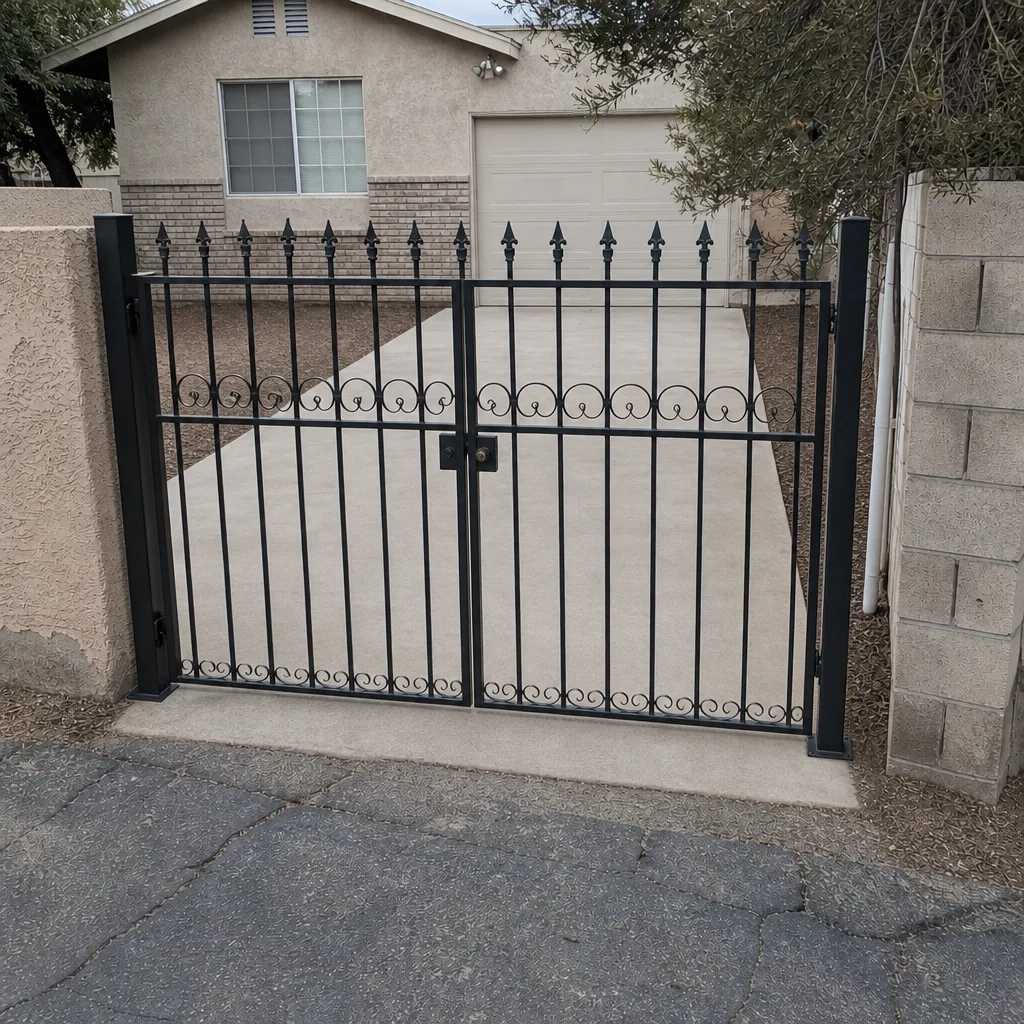
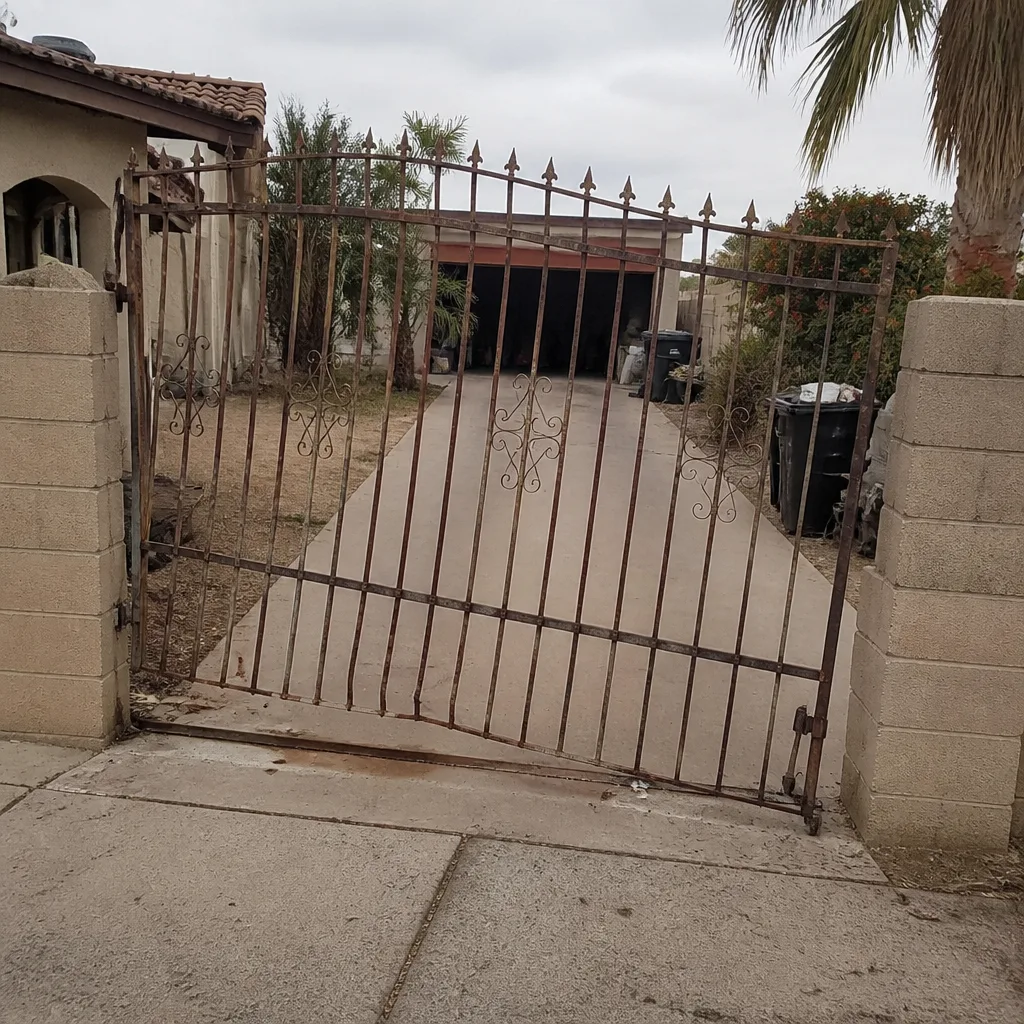
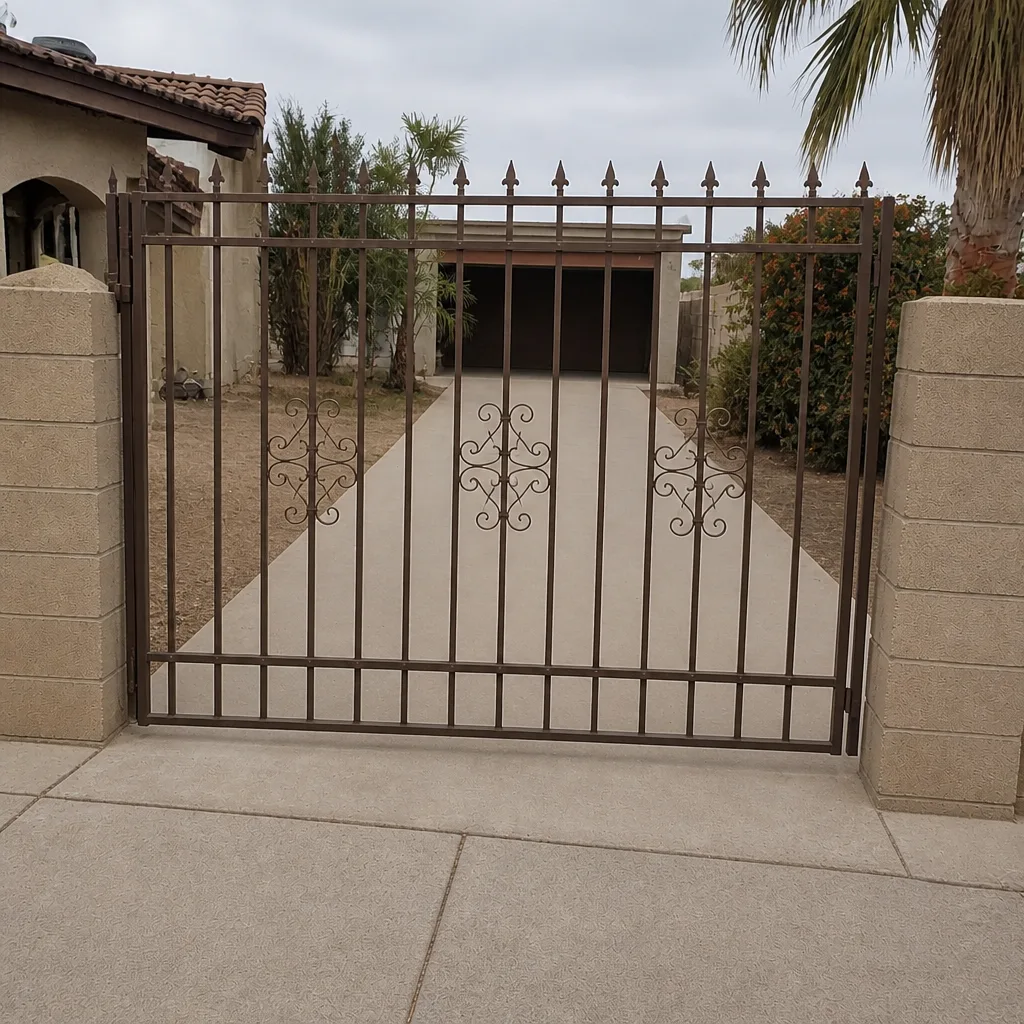
See the difference
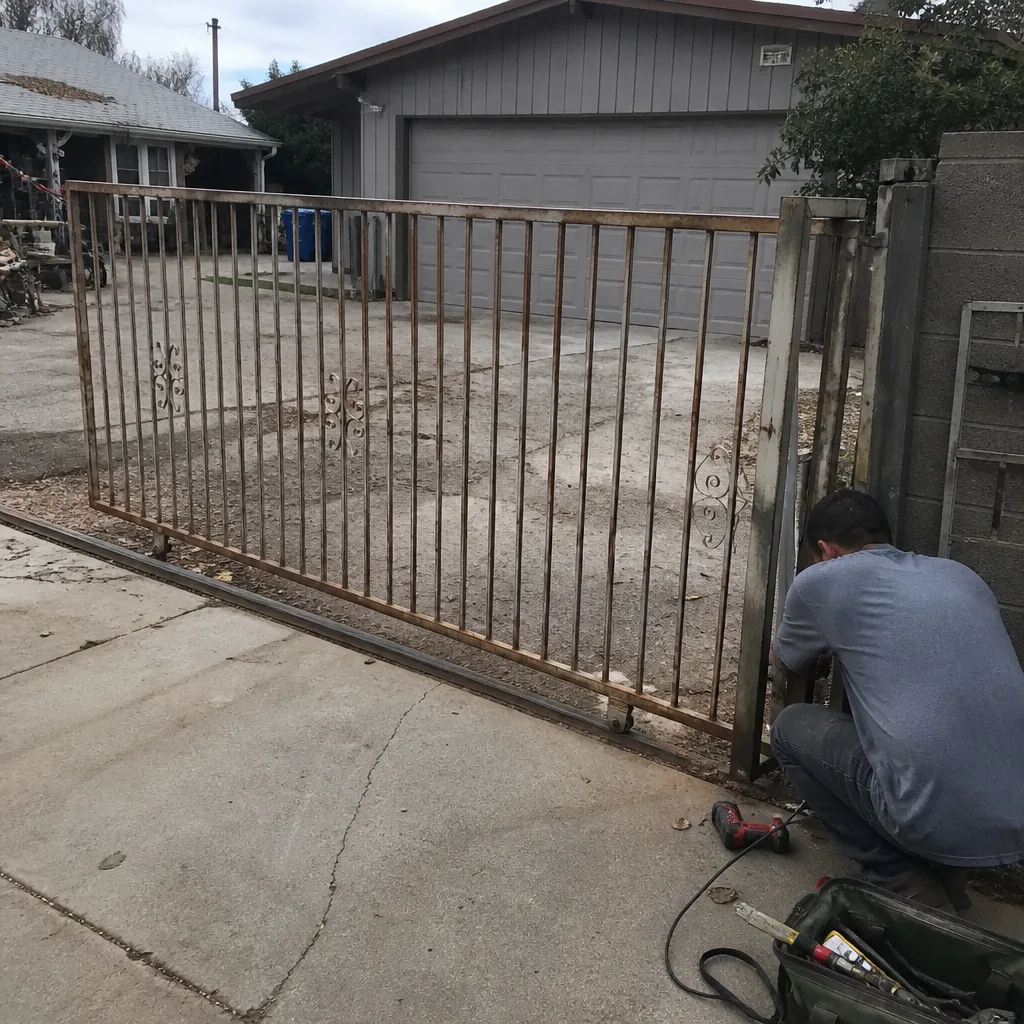 Before
 After
 Before
 After
 Before
 After
When to Call a Professional
Call a technician when any of the following is true: your gate has stopped reversing on obstruction or won’t close reliably; the photo-eye indicator flickers or you suspect thermal drift; the operator hums, clicks, or strains without moving the gate; the control box shows a fault or has taken on water; any post is loose; your wiring insulation is cracking at any exposed transition; or the drive is making new noises you can’t identify. Also call when you’ve run the monthly checklist and found something that needs actual adjustment or repair, rather than cleaning or lubrication.
Gate Repair Glendale offers free estimates in Glendale. Call (855) 632-1674. We answer 24/7. Fast dispatch from 7am to 7pm, Sunday through Friday.
Frequently Asked Questions
Do a 10-minute safety and visual walk-around monthly, and a deeper inspection before summer, before monsoon season, and after the first significant dust event of fall. The monthly walk-around catches most wear and safety issues early; the seasonal checkpoints catch heat, dust, and moisture problems that build up over time.
The safety reverse. Every month, break the photo-eye beam with your hand while the gate is moving and confirm the gate reverses. That’s the check most likely to catch a dangerous fault before it causes an injury. If it fails, stop using the automatic function and call us at (855) 632-1674 for a diagnostic visit.
Yes, and it’s the most common maintenance finding in Glendale. Heat thins lighter greases so they run off, leaving the chain dry and wearing fast. Clean off the old dust-loaded grease and apply a heavier, heat-stable chain lubricant before summer. If the chain is already slapping or visibly worn at the pins, have a technician look at it.
No. Photo-eye alignment is part of the gate’s safety system, and a poorly aligned eye can allow the gate to close on an obstruction. A marginal alignment that appears to work can still fail. Our on-site diagnostics include alignment checks at both cool and hot times of day, which catches thermal drift patterns most owners can’t see.
Almost always repair first. A failed motor, control board, or limit switch rarely means the whole gate needs replacing. Our approach is repair-first: diagnose what’s actually failing across the full system (mechanical, operator, and electronics), fix that, and only recommend replacement when the cost or reliability genuinely justifies it.
Very likely. We service Mighty Mule, LiftMaster, FAAC, BFT, and other widely installed brands across residential and commercial automated gates. If you’re not sure, call (855) 632-1674 and describe the operator; we’ll confirm before scheduling.
The Bottom Line
A gate in Glendale doesn’t fail because the motor is bad. It fails because heat thins the grease, UV cracks the wiring, dust turns to grit, and monsoon moisture finds every seam. The checklist that actually works is the one organized around those four stressors, not a temperate-climate manual. Do the ten-minute monthly walk-around, do the deeper check before summer and before monsoon season, and re-check after the first big dust of fall. Test the safety reverse every month without exception. And when something needs adjustment, call a gate specialist who knows how to work from the motor to the control board. Call (855) 632-1674 for a free estimate. We answer 24/7. Fast dispatch from 7am to 7pm, Sunday through Friday.
Written by the team at Gate Repair Glendale.